Vagrant搭建可移植的CentOS7环境
:::tip 文章更新历史
2022/05/25 feat:调整步骤,推荐本地导入box的初始化方式。
2022/05/12 feat:初稿。
:::
安装 Vagrant
如果你不知道什么是Vagrant,或者不会安装及启动停止删除Vagrant操作,请参考我的另外一篇文章:
初始化 CentOS7 环境
官方地址
https://app.vagrantup.com/centos/boxes/7
初始化并导入镜像
box可以远程下载,也可以导入,默认是远程下载。由于网络原因,建议导入模式。
更好的添加方式:
# URL方式,可自定义添加后的box名称
# vagrant box add centos7 http://mirrors.ustc.edu.cn/centos-cloud/centos/7/vagrant/x86_64/images/CentOS-7-x86_64-Vagrant-2004_01.VirtualBox.box

# 或者下载好了,手动指定目录添加
# 添加本地Box文件,可自定义添加后的Box名称
wget http://mirrors.ustc.edu.cn/centos-cloud/centos/7/vagrant/x86_64/images/CentOS-7-x86_64-Vagrant-2004_01.VirtualBox.box
vagrant box add centos7 /Users/terwer/Documents/app/Vagrant/centos/7/CentOS-7-x86_64-Vagrant-2004_01.VirtualBox.box
新建 Vagrantfile
Vagrant.configure("2") do |config|
  # config.vm.box = "centos/7"
  # 注意:上面一行会从官网远程下载
  # 如果需要添加本地的请修改名称,例如我们刚刚导入发的box
  config.vm.box = "centos7"

  config.vm.provider "virtualbox" do |v|
    v.gui = true
    v.memory = "1024"
    v.linked_clone = false
  end
end
# vagrant init centos/7
# 注意:上面一行会从官网远程下载
# 如果需要添加本地的请修改名称,例如我们刚刚导入发的box
# 如果没有创建Vagrantfile文件需要执行init创建如下
# vagrant init centos7
启动
# 启动
vagrant up
SSH 登录
默认用户名密码
vagrant/vagrant
共享文件夹
默认的共享文件夹是 vagrantfile 所在的目录,虚拟机映射是 /vagrant
使用 provision 添加初始化配置
Vagrant.configure("2") do |config|
  config.vm.box = "centos/7"
  # 注意:上面一行会从官网远程下载
  # 如果需要添加本地的请修改名称,例如我们刚刚导入发的box
  # config.vm.box = "centos7"
  config.vm.define "centos7"
  config.vm.hostname = "terwer-vm"

  config.vm.provider "virtualbox" do |v|
    v.name = "centos7"
    # v.gui = true
    v.gui = false
    v.memory = "1024"
    v.linked_clone = false
  end

  # 单行命令,且每次vagrant up/reload都执行
  config.vm.provision "shell", run: "always", inline: "echo hello"

  # 本地shell脚本
  config.vm.provision "shell", path: "init.sh"
  # 或指定shell脚本的URL
  # config.vm.provision "shell", path: "https://example.com/provisioner.sh"

end
end
init.sh
#!/bin/sh

# backup repo
mkdir /etc/yum.repos.d/bak
mv /etc/yum.repos.d/CentOS*.repo /etc/yum.repos.d/bak
# yum base repo
cat <<'EOF' >>/etc/yum.repos.d/base.repo
[base]
name=CentOS-$releasever - Base
baseurl=https://mirrors.ustc.edu.cn/centos/$releasever/os/$basearch/
gpgcheck=0

[updates]
name=CentOS-$releasever - Updates
baseurl=https://mirrors.ustc.edu.cn/centos/$releasever/updates/$basearch/
gpgcheck=0

[extras]
name=CentOS-$releasever - Extras
baseurl=https://mirrors.ustc.edu.cn/centos/$releasever/extras/$basearch/
gpgcheck=0
EOF

# epel repo
yum install -y epel-release
sed -e 's|^metalink=|#metalink=|g' \
-e 's|^#baseurl=https\?://download.fedoraproject.org/pub/epel/|baseurl=https://mirrors.ustc.edu.cn/epel/|g' \
-i.bak \
/etc/yum.repos.d/epel.repo

# install packages
yum makecache
yum install -y wget vim
注意:init.sh 与 Vagrantfile 在同一个目录。
修改root密码
sudo passwd root
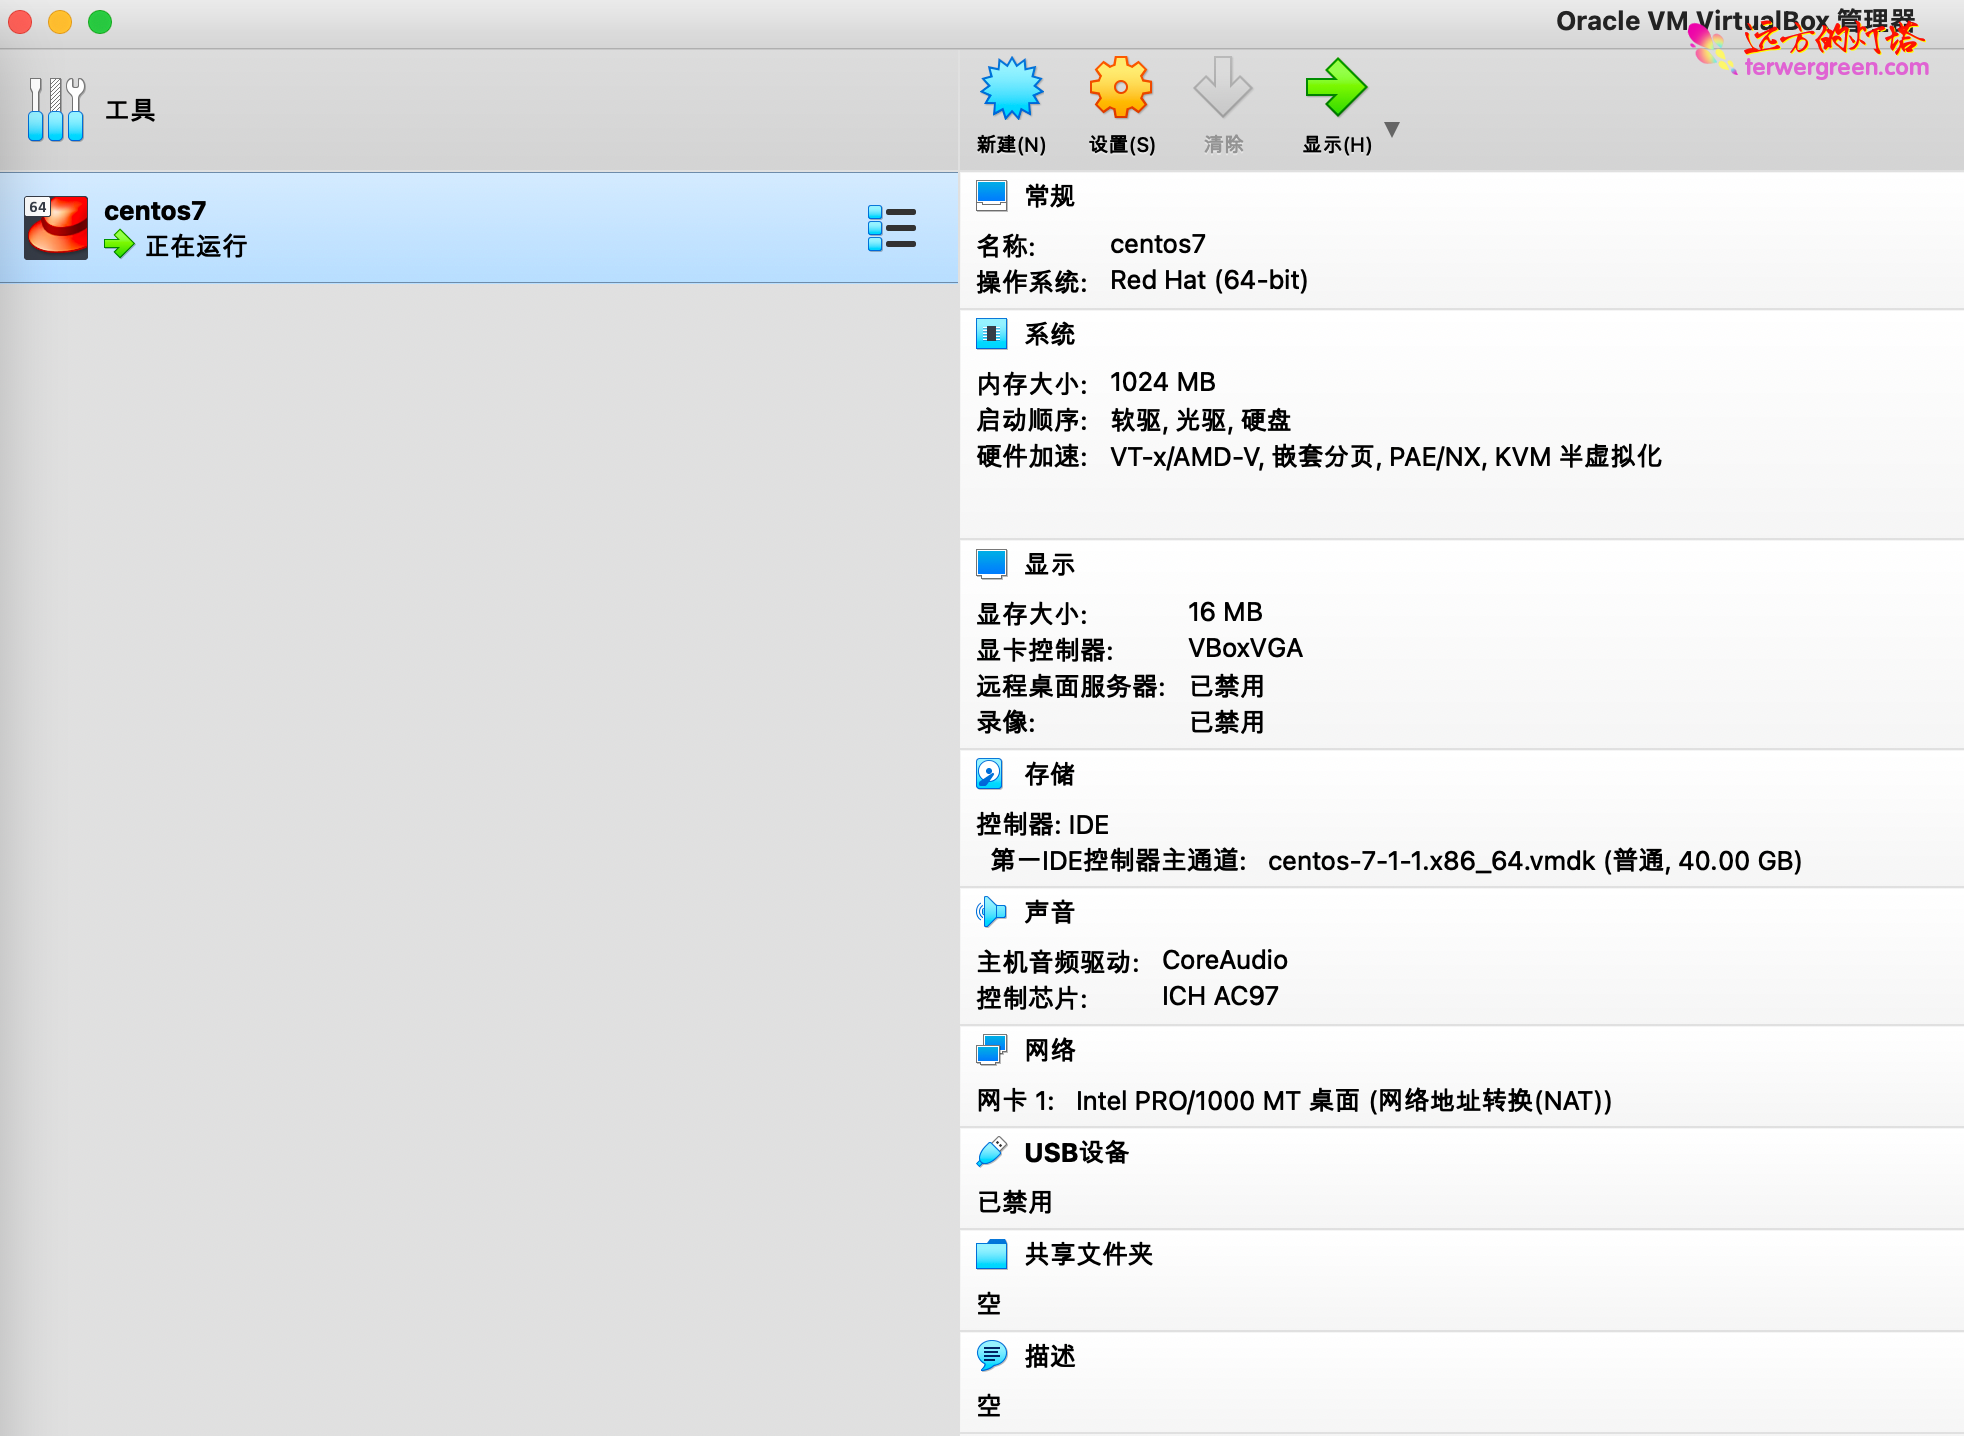
查看启动日志与效果
➜  7 git:(main) ✗ vagrant up
Bringing machine 'centos7' up with 'virtualbox' provider...
==> centos7: Importing base box 'centos7'...
==> centos7: Matching MAC address for NAT networking...
==> centos7: Setting the name of the VM: centos7
==> centos7: Clearing any previously set network interfaces...
==> centos7: Preparing network interfaces based on configuration...
    centos7: Adapter 1: nat
==> centos7: Forwarding ports...
    centos7: 22 (guest) => 2222 (host) (adapter 1)
==> centos7: Running 'pre-boot' VM customizations...
==> centos7: Booting VM...
==> centos7: Waiting for machine to boot. This may take a few minutes...
    centos7: SSH address: 127.0.0.1:2222
    centos7: SSH username: vagrant
    centos7: SSH auth method: private key
    centos7:
    centos7: Vagrant insecure key detected. Vagrant will automatically replace
    centos7: this with a newly generated keypair for better security.
    centos7:
    centos7: Inserting generated public key within guest...
    centos7: Removing insecure key from the guest if it's present...
    centos7: Key inserted! Disconnecting and reconnecting using new SSH key...
==> centos7: Machine booted and ready!
[centos7] No Virtualbox Guest Additions installation found.
